Key takeaways
- Start with ESP and awareness features before adding combat automation.
- Cap FOV, smoothing, and distance limits so aim assistance stays believable in PvP.
- Shorter sessions with conservative configs age better than maxed-out marathon runs.
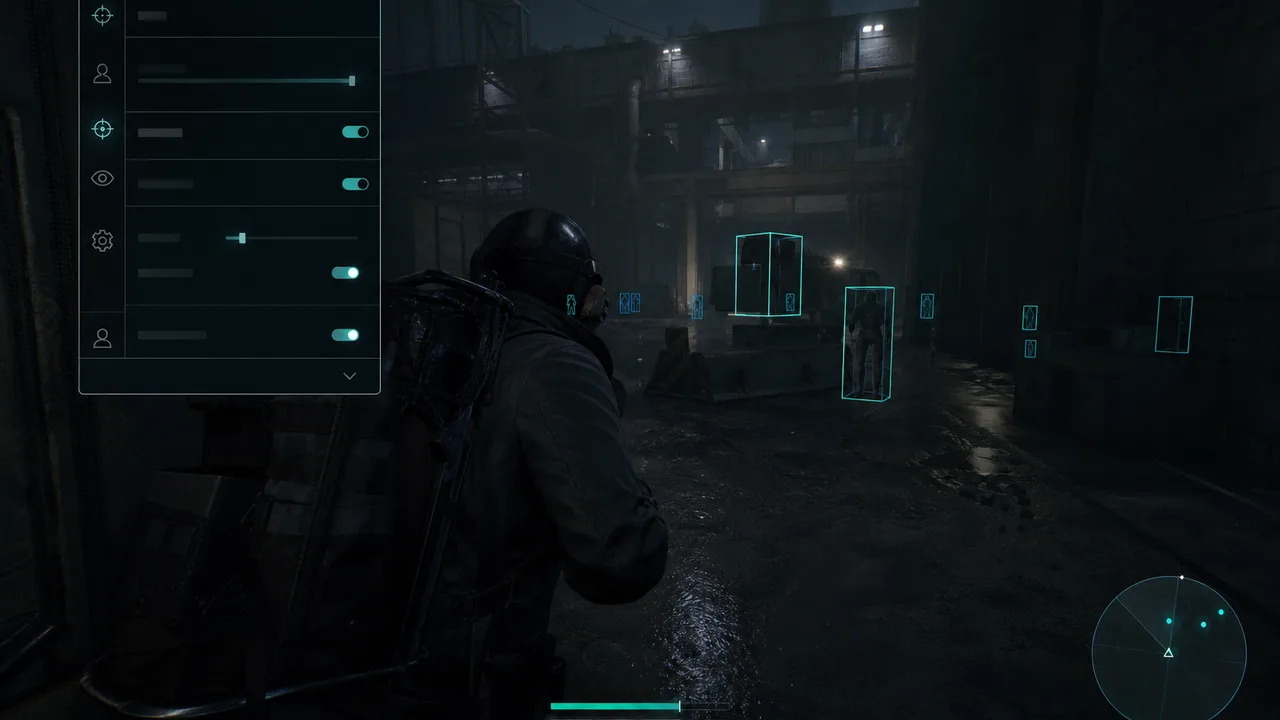
Most players who look for Arc Raiders cheats do not need a rage config on day one. They need fewer surprises, cleaner reads on loot routes, and a little help closing fights they already positioned for. Low-profile settings exist for exactly that — turning software into a quiet advantage instead of a loud liability.
The mistake we see most often is treating every slider like a volume knob. Max ESP categories, wide FOV, instant snap, skeletons on every entity in range — it feels powerful in a private test, then falls apart the moment another player watches your kill cam or your own VOD. Conservative configs are not about playing scared. They are about making the tool match how extraction shooters actually play.
What Low-Profile Actually Means
Low-profile does not mean turning everything off. It means choosing features that support decision-making instead of replacing it. In Arc Raiders, that usually breaks down into three layers: information, fight assistance, and session discipline.
Information is ESP, loot filters, distance readouts, and weak-point markers. Fight assistance is smoothing, recoil support, and light trigger tooling. Session discipline is how long you run, how aggressively you farm, and whether your behavior still looks like a normal raider who got lucky — not a script reading the server.
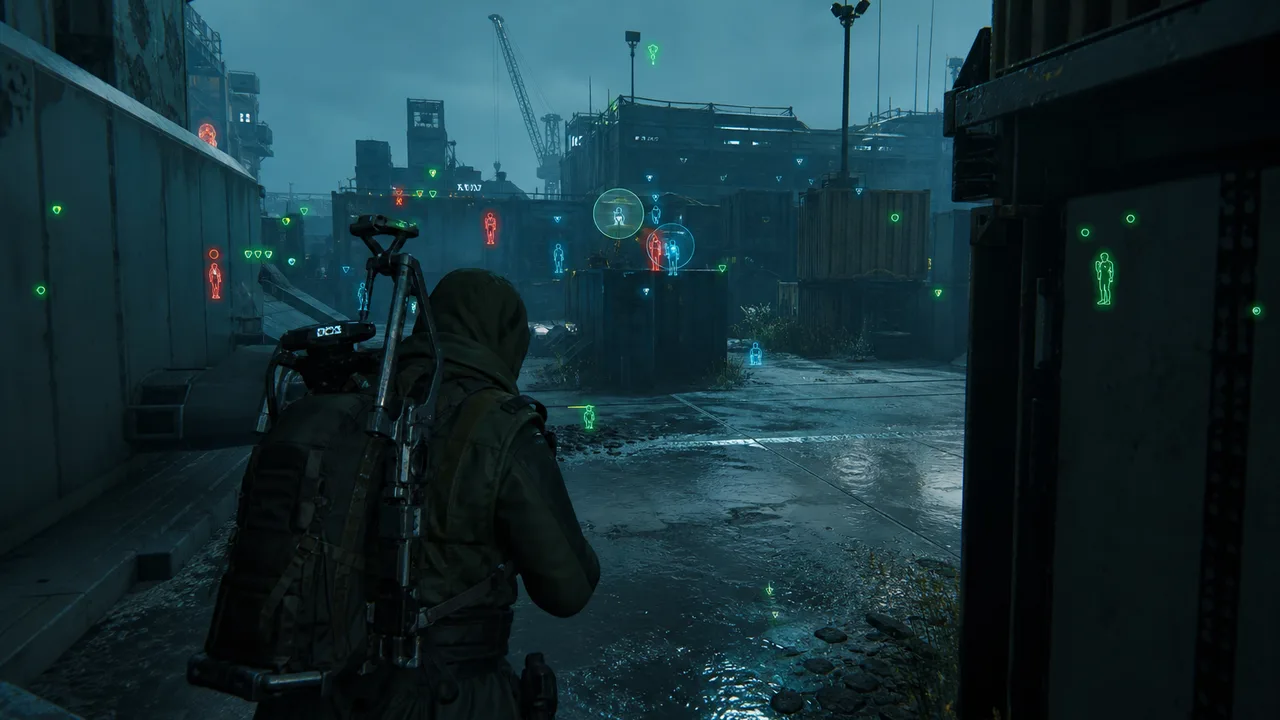
If you are on an entry tier like Xray, you already have a natural ceiling. Player boxes, loot value ESP, skeleton markers, and smooth targeting cover most low-profile needs without stacking combat automation. Pro adds more fight tools, which is useful — but only if you resist the urge to enable all of them at once.
ESP Settings That Stay Useful
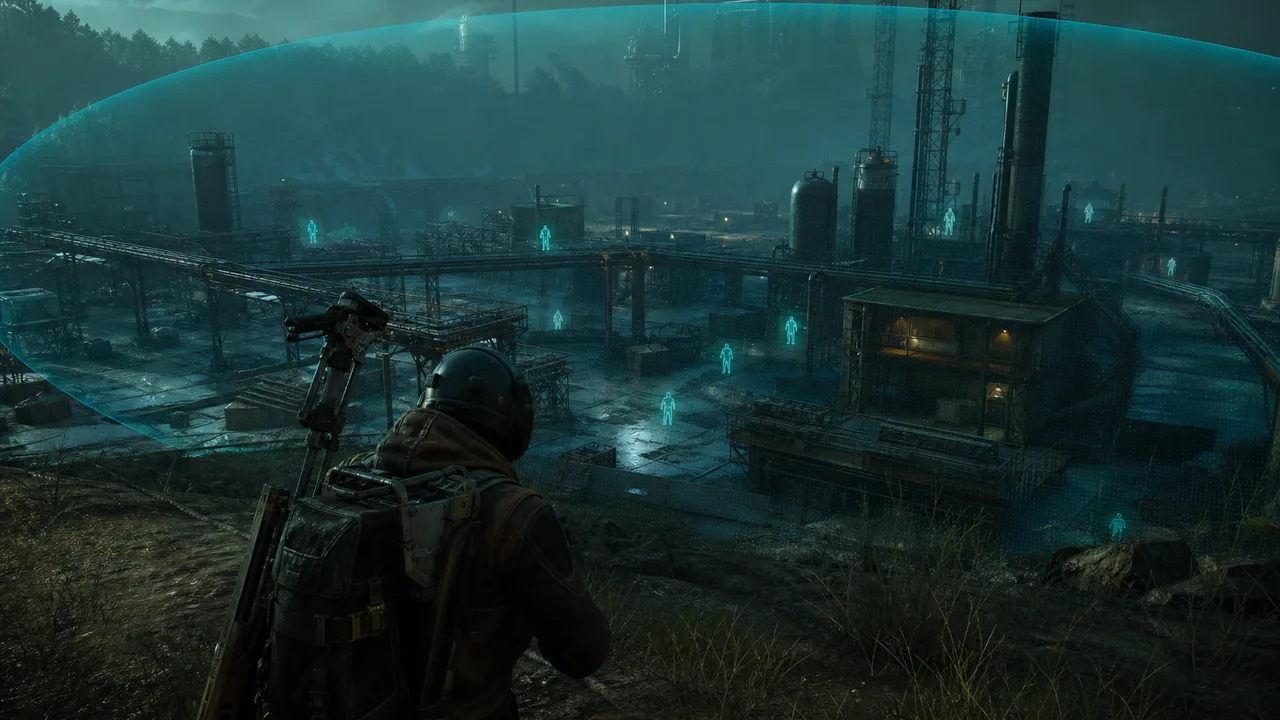
ESP is the feature most players should configure first, because awareness pays off in every raid type. The goal is not to see everything on the map. The goal is to see what changes your next thirty seconds.
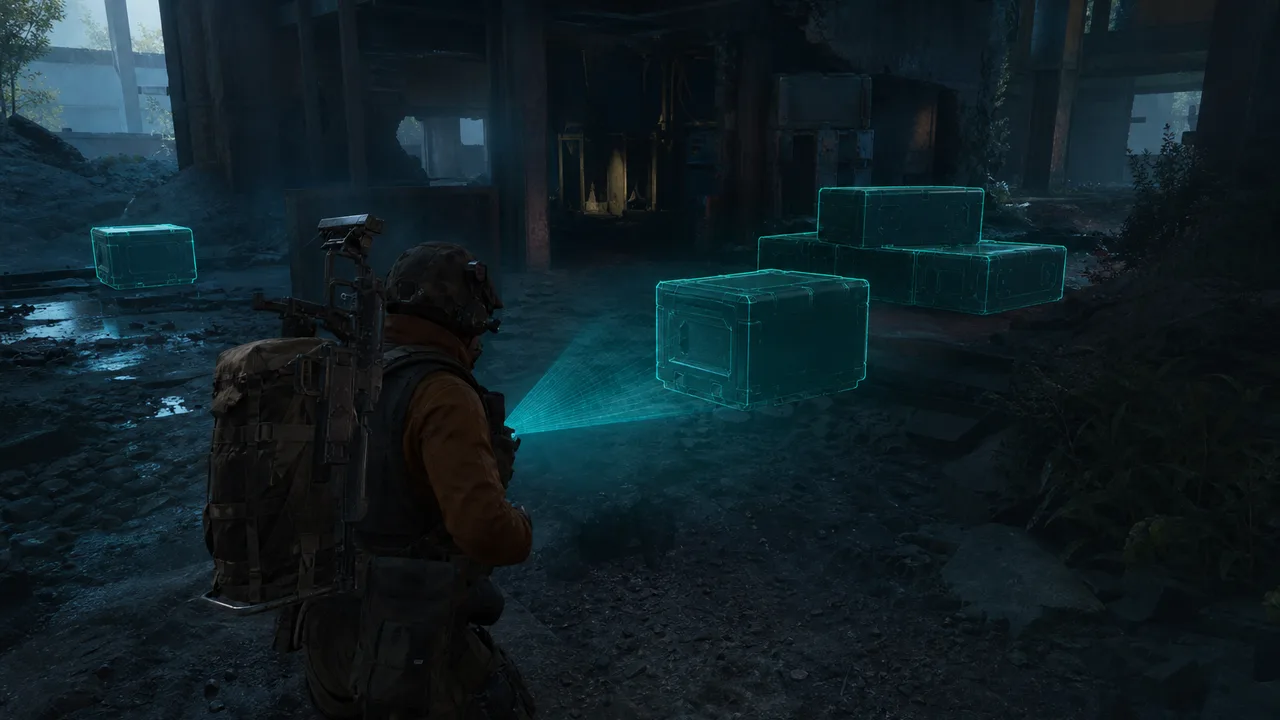
Start with player visibility at a distance cap that matches your weapon range. If you main SMG and shotgun routes, you do not need 400-meter boxes lighting up across the whole industrial zone. Cap distance so ESP matches where you actually fight. Same rule for loot ESP — filter by value or category so your screen is not a Christmas tree of grey crates.
Skeleton ESP and head markers are strong, but they are also visually busy. Many low-profile users keep boxes and health bars on, skeletons off, and only enable head markers when they are actively hunting ARC weak points or lining up controlled taps. Private tier users get more customization — use it to reduce noise, not add it.
Color and box style matter more than people think. Corner boxes and subtle outlines read cleaner than thick 3D shells that scream overlay to anyone spectating. If your software supports opacity or thickness controls, dial them down until you can still parse the raid at a glance without feeling like you are playing a different game.
Aim Assistance Without the Snap
Aim tools are where low-profile configs live or die. Smooth targeting with a tight FOV and human-style easing will always age better than wide-angle snapping that tracks through hard cover.
Practical starting points for conservative users:
- Keep FOV inside the range you would realistically flick to in a fight you are already aiming at.
- Use smoothing high enough that corrections look like clean mouse work, not robotic rails.
- Disable or minimize trigger features until you understand how they fire on partial cover and third-party peeks.
- Turn off rage-style options entirely if your tier includes them — they are built for a different use case.
Players on Pro often enable aim assist because close fights cost gear. That is fair. Just remember Arc Raiders punishes ego pushes. If aim software encourages taking fights you would normally disengage from, your stats might improve short term while your report volume does not.
Tier Choice and Feature Scope
Your tier sets the ceiling, but your config sets the tone. Xray is intentionally lighter — strong ESP, smooth targeting, fewer automation layers. That is often the best long-term profile for players who want awareness-first raids.
Pro makes sense when you consistently lose trades you positioned correctly for and need recoil or trigger support without jumping to the full private stack. Private is for users who want deep menus and granular control — which is excellent for low-profile work if you treat extra features as opt-in, not default-on.
Browse the full cheat tier comparison before you buy. Picking a tier with features you will never run at conservative values is wasted complexity. Picking a tier too light for your actual pain point sends you back to the menu in a week, tempted to crank settings instead of upgrading thoughtfully.
Session Habits That Protect the Config
Settings are only half the story. The same conservative profile can look fine in one session and suspicious in another based on how you play.
Shorter sessions with clear goals beat eight-hour marathons where fatigue makes you lazy. If you are farming loot, route efficiently and extract before you start taking unnecessary PvP. If you are fighting, take engagements you would own without software — the tool should close the gap, not create a new playstyle overnight.
Avoid repeating identical patterns: same drop, same camp angle, same pre-fire timing every raid. Human players vary. Software makes consistency easy; your job is to break that consistency on purpose.
Pairing hardware hygiene matters too. If you are rebuilding after a flag, a spoofer alone does not fix sloppy behavior. See the HWID Spoofer guide and product page for context on machine-level resets — then still keep configs conservative after the fresh start.

Testing Before Live Raids
Never push a new config straight into high-value runs. Use this sequence:
- Load the profile in offline or low-stakes practice if your loader supports it.
- Verify ESP categories do not overlap into unreadable clutter.
- Dry-fire aim settings against ARC units at realistic ranges.
- Record thirty seconds of your own POV — watch for obvious snaps or wall tracking.
- Run one short live raid focused on movement, not kills.
If something feels loud to you on replay, it will feel louder to another player. Tune again before you stack extractions.
Our cheat setup checklist walks through loader prep and first-session flow if you are still building the baseline environment.
When to Turn Features Up — and When Not To
There are legitimate moments to widen FOV or enable an extra ESP category: finals circle pressure, last extract contest, or a revenge fight where you already accepted the risk. Treat those as manual overrides, not your default profile.
If you find yourself reaching for max settings every session, the config is not low-profile anymore — it is a comfort blanket. Step back and ask whether you need a different tier, better fundamentals, or a break from marathon queues.
Building a Config You Can Keep
The best low-profile Arc Raiders cheat settings feel boring on paper. Limited distance. Filtered loot. Smooth aim inside a tight FOV. Two saved profiles — farm and fight — swapped intentionally instead of toggled mid-raid in panic.
That boredom is the point. Extraction shooters reward players who see the fight early, take clean angles, and leave with gear. Software should make those reads easier, not turn you into a different species of raider every match.
Start on the cheat tiers that match your actual goals, copy the conservative baselines above, and iterate from replay review — not from kill-count adrenaline. Steady configs compound. Loud configs get noticed.
Need the full feature landscape first? Read our Arc Raiders cheats guide before you finalize profiles.