Key takeaways
- Extraction deaths cost more than fight losses — ESP on zones and approaching players fixes macro timing, not just aim.
- Sweep radar and zone status 60–90 seconds before commit; path for cover even when the extract looks empty.
- Xray handles player awareness; Private adds extraction zone ESP and 2D radar for full extract command.
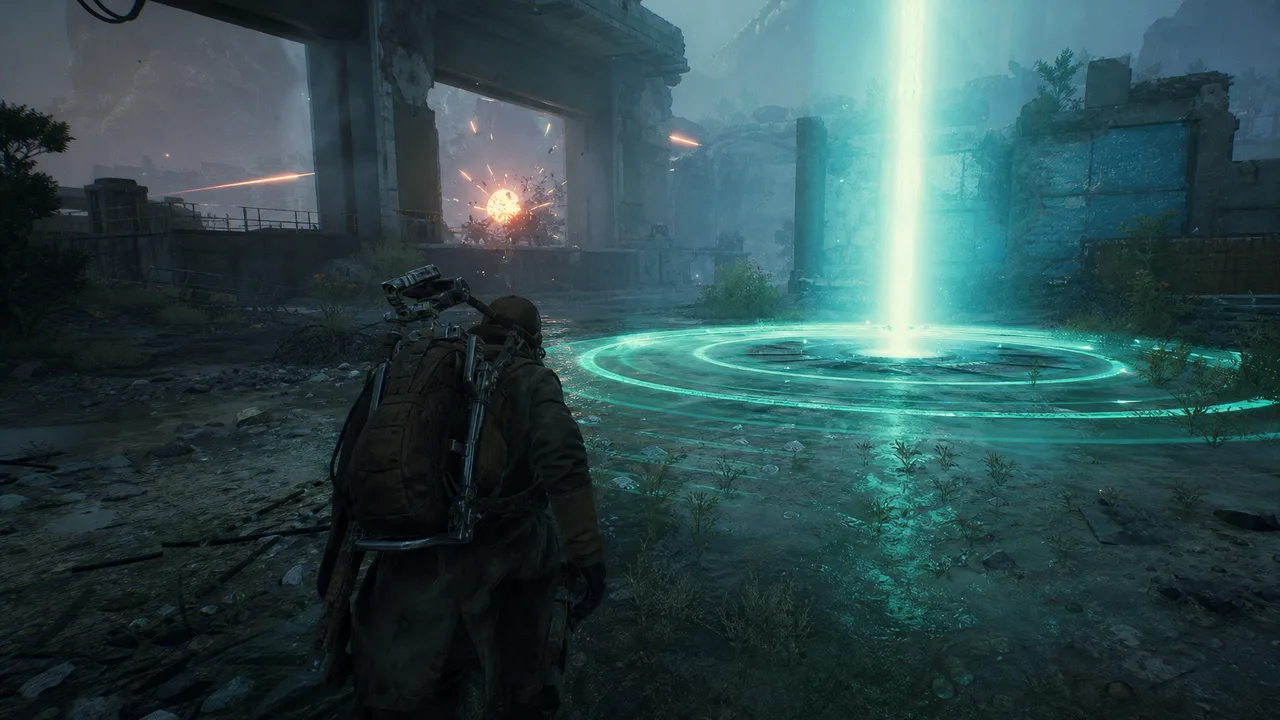
The most expensive kill in Arc Raiders is not the one in the loot room. It is the one 40 meters from extraction when your timer hits, your meds are gone, and a team you never rotated for holds the only lane out. Gear loss hurts because extract failure is stash failure. Extraction ESP — zone markers, status readouts, and the player awareness wrapped around them — exists to make those final minutes planned instead of prayed for.
This article covers how extraction intel works in practice, which tiers ship zone tooling, and workflows that keep your bag off the ground when timers get tight.
Why Extracts Deserve Their Own ESP Category
Player ESP answers who is near you. Loot ESP answers what is worth picking up. Extraction ESP answers when and where you can leave alive — a different decision tree entirely.
Arc Raiders compresses tension into extract windows: active zones, blocked routes, third parties racing the same timer, and PvE noise masking footsteps. Without zone intel, even perfect aimbot users die holding loot because they picked the wrong minute to cross open ground.
Extraction-focused visibility is why many players graduate from Xray to Private Viper — not because they suddenly need harder aim, but because macro losses dominated their ledger.
What Extraction ESP Actually Shows
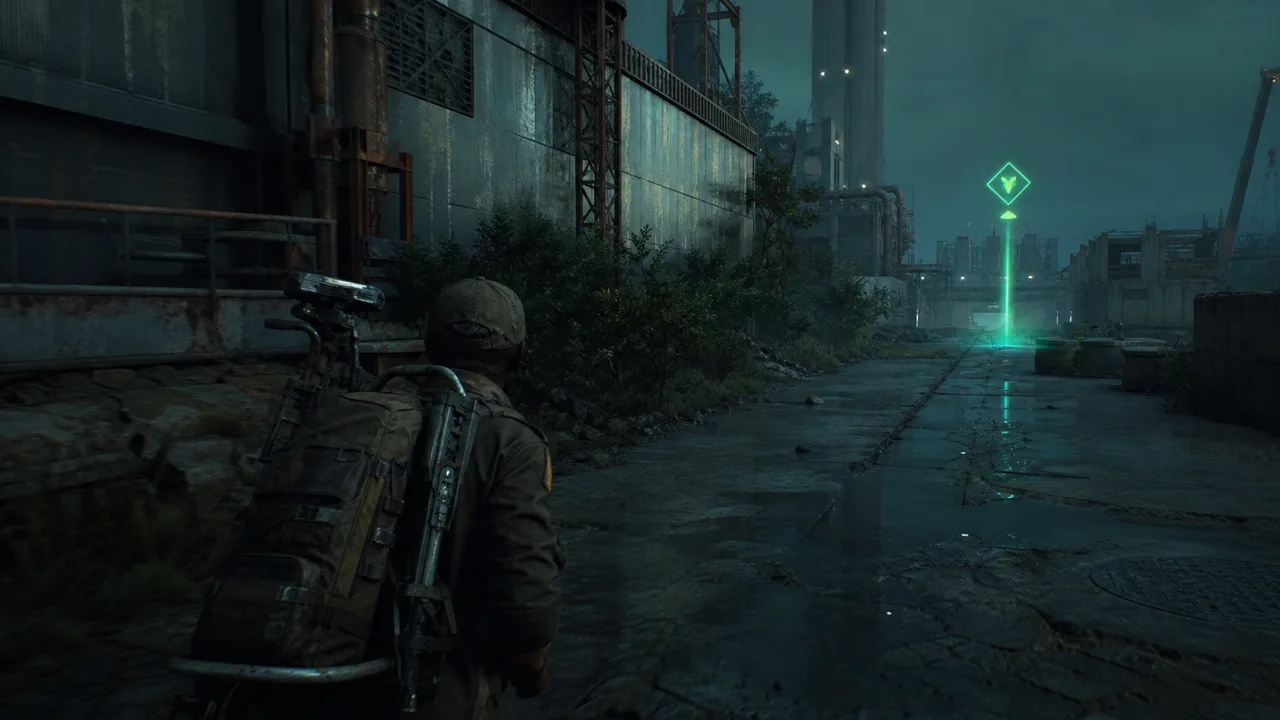
On tiers that include it (notably Private), extraction zone ESP typically surfaces:
- Active extraction points relative to your position
- Zone status — open, contested, or unavailable depending on game state
- Distance and approach vectors when paired with player ESP and radar
Lower tiers without dedicated zone markers still support extract play through player ESP + map knowledge. Xray users compensate by memorizing zone locations and using distance readouts to spot campers early — workable, but slower under pressure.
Pair zone tooling with 2D radar when available. Radar blips approaching from extract-side ridges tell you a fight is coming before you see boxes through walls.
Pre-Extract Workflow
Step 1 — Pick your window before you loot
Decide extract timing at raid start based on spawn, quest objectives, and lobby heat. High-traffic hours mean earlier extracts or alternate zones — not “one more room” loops that sync you with every third party on the map.
Step 2 — Route with cover bias
ESP shows zones; you still path intelligently. Hard cover beats shortest line. If zone ESP reads clear but player ESP shows a squad between you and the pad, the squad wins — reroute or wait for separation.
Step 3 — Radar sweep and audio discipline
Private users: full radar pass. Xray/Pro users: max-distance player ESP sweep toward known extract angles. Crouch-walk final segments even when timers scream — sprinting announces you to teams holding gate.
Step 4 — Commit or abort
Green zone plus clear radar for 10 seconds still is not permission to hero sprint. Commit when path, timer, and threat layer align. Abort back to cover if new blips appear — extract ESP stays active; use it dynamically.
Our PvP positioning ESP guide covers angle holding near pads without exposing loot body to crossfire.
Tier Mapping — Who Gets What
| Capability | Xray | Pro | Private |
|---|---|---|---|
| Player ESP near zones | Yes | Yes | Yes |
| Dedicated extraction zone ESP | No | No | Yes |
| 2D radar for approach vectors | No | No | Yes |
| Combat automation at pad | Smooth targeting | Aim + trigger | Full aimbot |
Xray path: Learn map extracts manually; use player ESP to spot gate campers. Enough for off-peak farming.
Pro path: Win fights during extract holds with aim and trigger tools — still no native zone ESP.
Private path: Full extract command — zone ESP + radar + drone awareness for aerial gate pressure.
Compare details on the cheats hub before assuming you need top tier.
Contested Extract Scenarios
Double team at single pad
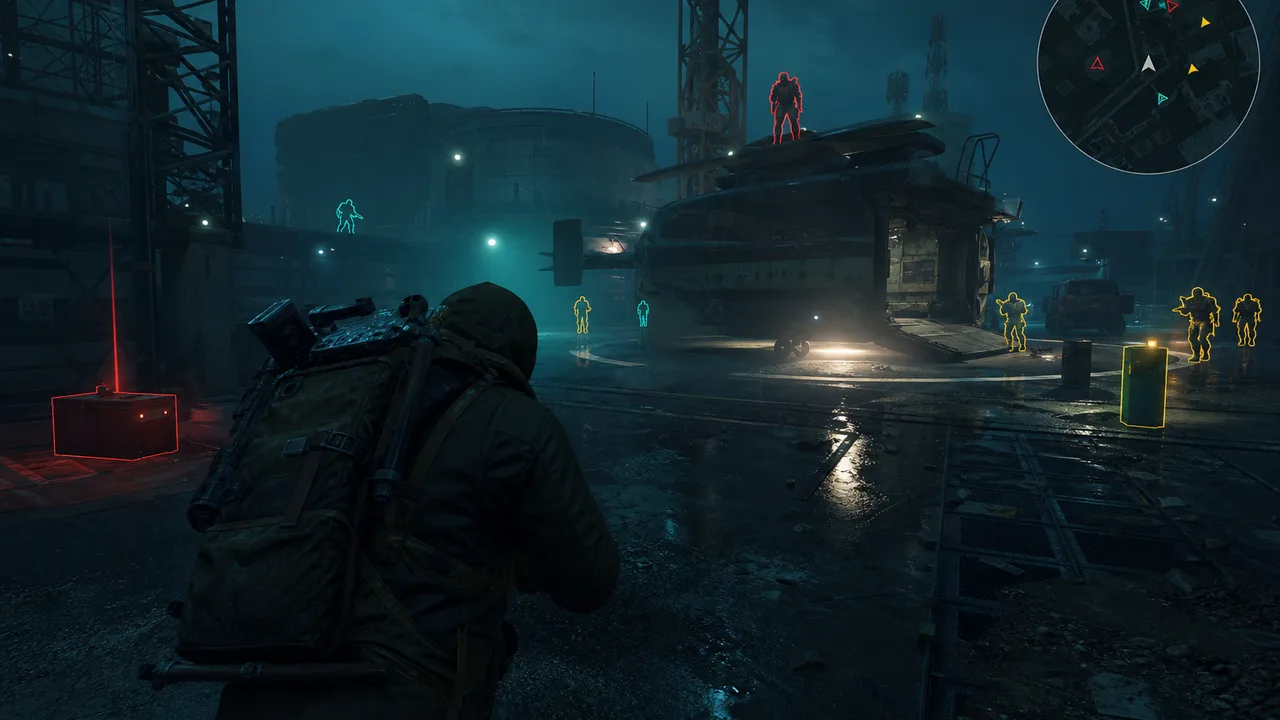
Zone ESP shows active window; radar shows two squads from opposite compass points. Do not be the team in the middle. Circle wide, let them engage, third-party the survivor, or extract alternate if timer allows.
Last-second timer panic
Worst deaths happen here. ESP is not an excuse to sprint main road. If timer forces commit, smoke/meds ready, avoid stopping on pad until channel clears — player ESP should show downed or repositioning threats.
Fake quiet extract
Empty radar plus active zone — classic bait. Send one player to hard peek (duo) or drone scout (Private) before full team commits loot across open terrain.
PvE pressure during extract
ARC patrols near pads waste time and ammo. ARC enemy ESP helps route around mechanized spawns so you arrive at extract with resources intact.
Extract ESP Without Private — Xray/Pro Compensations
Not everyone needs zone markers on day one.
Map study: Static extract locations do not change every patch — build mental pins.
Player ESP distance caps: Set max distance to extract-relevant range during final phase; reduce clutter.
Sound discipline: Arc Raiders audio telegraphs sprint and reload — ESP supplements, not replaces, ears.
Squad roles: Designated extract caller with best visibility tier — often Private anchor with Xray teammates.
When compensations fail repeatedly — you know the zone, you still die to unseen rotates — upgrade discussion belongs in the Private Viper guide, not tighter aim settings.
Pairing With Other Tools
HWID Spoofer: Extraction play does not require HWID Spoofer — only recovery workflows after hardware flags. See the spoofer guide.
Cloud DMA: Optional infrastructure for specific PC setups — Cloud DMA product page lists prerequisites. Not an extract requirement.
General cheat hygiene: Our Arc Raiders cheats guide covers provider trust and behavior — sitting on extract with obvious overlay patterns still draws reports regardless of intel quality.
Season 1 Extract Meta Notes
Peak hours concentrate teams on high-value routes and popular pads — see Season 1 meta analysis for weapon and rotation trends. Extraction ESP shines when lobby density is high; off-peak farmers may survive on Xray player reads alone.
Weather and event modifiers (when active) shift sightlines on open extract lanes — zone intel plus positioning beats raw speed when fog or glare reduces natural vision.
Bottom Line
Extraction ESP separates players who survive the raid loop from players who win fights and still go broke. Zone markers, radar approach vectors, and disciplined timing turn Arc Raiders’ harshest minute into a repeatable process.
Start with player awareness on Xray, add combat tools via Pro if pad fights break you, and move to Private when macro losses — not aim — define your stash graph. Extraction intel is not flashy; it is why your next raid starts with gear instead of a fresh pistol run.