Key takeaways
- Aim assist usually fits Arc Raiders better than aggressive full lock
- FOV should match your weapon role — wide for SMGs, tight for DMR lanes
- Smoothing sells believable movement; snappy settings cost fights in review-heavy lobbies
- Disable combat automation during loot phases to protect muscle memory and attention
Aim tooling in Arc Raiders is the feature players want most and configure worst. Extraction shooters punish loud aim as much as they punish bad positioning — sometimes more, because a suspicious duel costs your entire kit and the thirty minutes of looting that preceded it. The goal is not to win one clip-worthy fight. The goal is to win trades consistently without turning every engagement into a report magnet.
This guide separates aim assist from full aimbot behavior, explains how FOV and smoothing interact with Arc Raiders weapon roles, and outlines low-profile defaults that pair with the Pro tier without encouraging rage settings that fall apart the moment lobby skill rises. If you have not locked your awareness layer yet, read the ESP guide first — aim tools amplify decisions; they do not replace seeing the raid.
Aim Assist vs Aimbot — Know What You Are Enabling
Menus blur terminology. In practice:
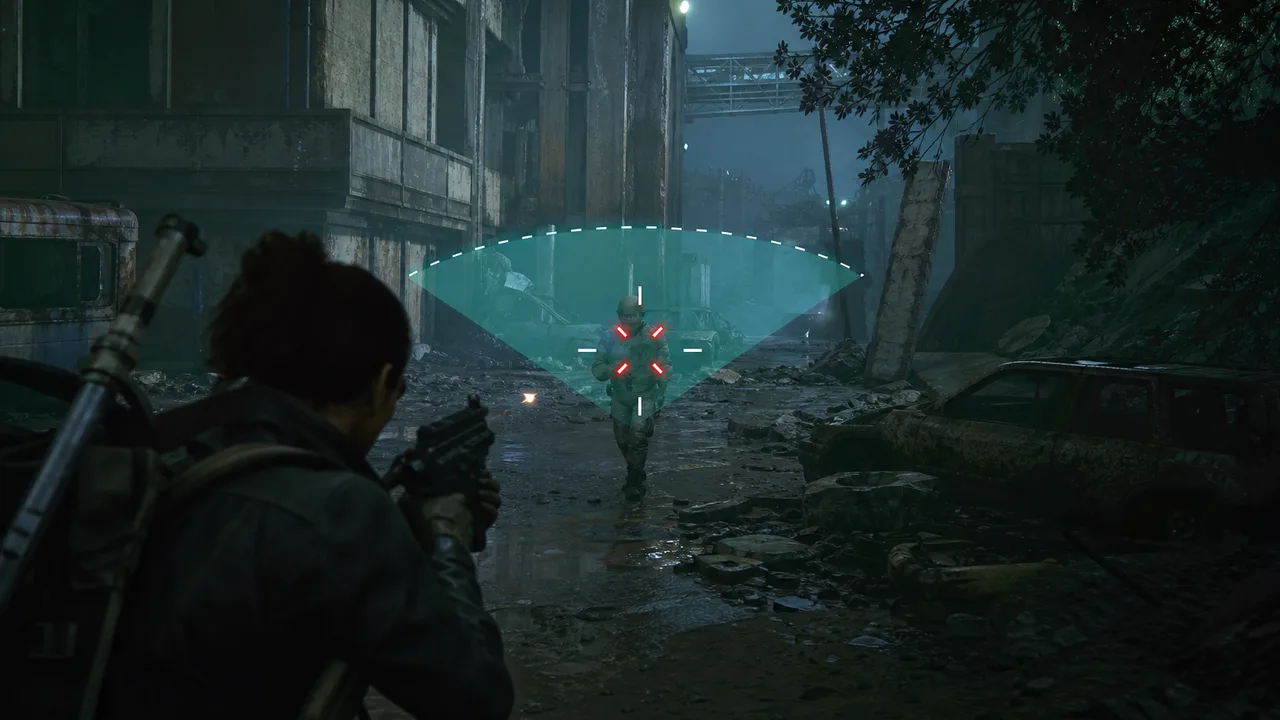
Aim assist nudges your crosshair toward valid targets inside a configured FOV cone. You still flick, track, and commit. Misses happen. Human input remains visible. Assist is strongest when you already placed crosshair roughly correct and need help finishing tracking through recoil or awkward vertical angles.
Full aimbot / lock takes over cursor movement to stay on target according to bone selection and priority rules. Even with smoothing, lock reads differently in killcams and spectator contexts. It can salvage fights you should have lost — but it also trains bad habits and spikes suspicion when movement looks disconnected from game events.
For Arc Raiders specifically, assist wins on practicality:
- Fights are often mid-range with cover breaks — you need micro-corrections, not instant snaps
- Third parties arrive mid-duel — over-aggressive lock keeps you glued to one target while another shoots you
- Loadout variety means you switch between CQB and ranged roles in the same raid — one rage profile rarely fits both
- Extraction timing means you sometimes should not fight — assist respects disengage decisions better than lock autopilot
Pro ships aim assist and smooth targeting as its combat core. Private adds deeper automation for players who accept more moving parts. Neither tier replaces the need to understand what your settings actually do in a live raid.
FOV — The Most Misused Slider
FOV defines the angular window where aim tooling can engage. Too wide feels like soft aim magnetism across half the screen. Too narrow feels useless unless you already aim near perfect.
Starting points by role:
| Role | Suggested FOV | Notes |
|---|---|---|
| SMG / shotgun CQB | 8–15° | Tight spaces, fast target swaps |
| AR mid-range | 12–22° | Default for most mixed routes |
| DMR / marksman | 5–12° | Pair with stronger ESP — you pre-aim lanes |
| General solo farm | 10–18° | Balance between PvE drones and opportunistic PvP |
Arc Raiders verticality matters. FOV that works on flat yard fights can feel wrong when targets drop from walkways or jump from container stacks. Test on Stellar Peak-style elevation routes, not just indoor corridors.
Do not copy tournament shooter FOV values blindly. Arc Raiders time-to-kill, recoil patterns, and armor interactions differ. Build from assist OFF baseline performance, then add 20–30% improvement worth of FOV — not 200%.
Smoothing — Making Movement Believable
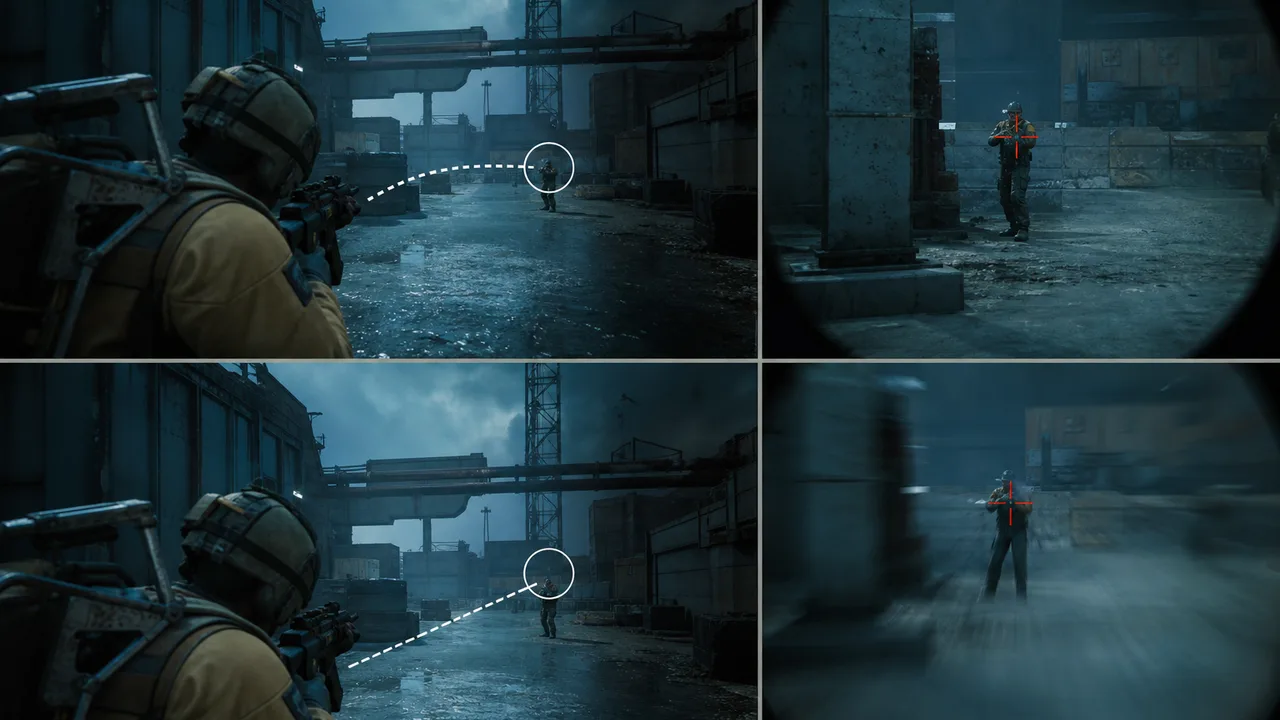
Smoothing controls how quickly aim tooling moves the crosshair toward the target bone. Low smoothing snaps. High smoothing drags. The believable band sits in the middle and depends on your base sensitivity.
Practical smoothing ladder:
- Start at medium-high smoothing in private testing
- Lower until fights feel responsive enough for CQB
- Raise again if killcam-style reviews look robotic
- Separate profiles for CQB and ranged if your menu supports weapon categories
Human aim has micro-jitter, overshoot, and correction. Perfect linear tracking is a tell. Good smoothing introduces slight lag that mimics hand correction without feeling mushy. If you track a strafing target through a full magazine without visible input, you have gone too far.
Combine smoothing with bone selection. Head priority wins duels; chest priority stabilizes damage on moving targets at range. Arc Raiders headshot multipliers matter, but a missed head snap into recoil reset often loses to steady chest pressure — especially against partial cover.
Target Priority and Multitarget Fights
Extraction shooters are third-party simulators. Your aim settings must handle target switching, not just 1v1 perfection.
Configure:
- Priority — closest threat, lowest HP, or crosshair proximity depending on playstyle
- Switch delay — slight pause prevents yo-yo locking between two overlapping targets
- Visibility checks — do not assist through hard cover; it encourages pre-fire that looks awful
- ARC vs player filters — PvE farming profiles can assist drone weak points; PvP profiles should bias players only
When ESP shows two raiders converging, your aim layer should not force you into the wrong duel. Sometimes the correct play is ignoring assist entirely and extracting. Aim tooling is a tool, not a mandate.
The triggerbot tips article covers fire automation separately — stacking trigger tools on top of aggressive aim without phase toggles is how players turn clean configs into obvious patterns.
Low-Profile Defaults for Live Lobbies
“Undetected” is a maintenance claim, not a personal guarantee. Low-profile play is how you reduce avoidable scrutiny regardless of software status.
Defaults we recommend testing:
- Aim assist ON, hard lock OFF or key-gated
- FOV 12–18° generalist, tighter in ranked-feeling PvP zones
- Medium-high smoothing with head bone on CQB, chest at range
- Visibility and team checks enabled
- Hotkey to disable all combat automation during loot phases
Read the full low-profile settings guide for cross-feature discipline — ESP clutter plus loud aim doubles attention you do not want.
Tier Pairing — Xray, Pro, and Private
- Xray — smooth targeting support without full combat automation. Enough if you mainly need light correction after ESP reads.
- Pro — aim assist, trigger options, expanded ESP. The standard PvP-farmer upgrade path.
- Private — maximum automation depth for squads coordinating pushes. Requires stricter phase toggles.
Xray users should not feel forced to upgrade because of marketing — if you win fights after ESP improvements, stay put. Upgrade when assist OFF performance plateaus and your routes demand more PvP.
Hardware isolation is a separate conversation. Cloud DMA does not replace aim discipline; it changes where input is processed. See cloud DMA with cheats before treating hardware as a substitute for sane FOV.
Weapon and Loadout Sync
Arc Raiders loadouts swing between high-rate CQB and slow semi-auto ranged weapons in the same night. One static aim profile across both feels wrong because recoil amplitude and tracking speed differ.
If your software supports weapon configs:
- High RPM — slightly wider FOV, moderate smoothing, chest bias
- Semi-auto — tighter FOV, higher smoothing, head bias on stationary targets
- Shotgun peak fights — narrow FOV, short switch delay, disable at range entirely
Season patches rebalance weapons quietly. After updates, rerun a private range test — not a live high-value raid — before trusting last month’s smoothing values. The season patch survival guide tracks habits that matter when menus stay stable but ballistics shift.
Practice Routine — Two Raids, One Adjustment
Do not tune aim across twelve variables in one session. Use this loop:
- Raid A — baseline assist OFF, note miss patterns (tracking vs flick vs recoil)
- Raid B — change one variable — FOV or smoothing, not both
- Compare only similar fights — same weapon class, similar range
- Stop after two changes per night — fatigue makes every setting feel good
Record mental notes, not clip montages. Montages lie because you remember highlights and forget deaths.
Common Aimbot Mistakes in Extraction Shooters
Chasing 100% accuracy. You will extract less because you take fights you should dodge.
Ignoring positioning because assist exists. Third parties punish tunnel vision harder than missed shots.
Same settings for PvE and PvP. Drone farming needs different automation than player duels.
No disable key. Loot phases with combat tools on degrade game sense and look odd in accidental clips.
Skipping ESP fundamentals. Assist cannot save you from unseen flanks — see player ESP and 2D radar.
Closing Thought
The best Arc Raiders aim setup is the one you forget exists during a good raid — where fights end cleanly, extractions happen on time, and nothing about your crosshair movement feels like a different game inserted into Embark’s loop. Start assist-light, FOV-matched, smoothing-high. Earn narrower settings through data from your own sessions, not from someone else’s highlight reel.
Aim tooling should close the gap between seeing the threat and finishing the trade. Nothing more.